Improve Your Health Without Breaking the Bank by Making DIY Workout Equipment Using Recycled Materials

Fitness and health are essential aspects of life. Between work and daily activities, there may not always be time to make it to the gym or yoga studio. Staying on top of your routine can sometimes be challenging. That said, you can create DIY workout equipment using recycled materials. These projects do not require a significant upfront investment. DIY workout items help you maintain a healthy lifestyle without breaking the bank. The following are tips on improving your health without breaking the bank by making DIY workout equipment using recycled materials.

Homemade Sand Bag
Many people are working towards a healthier lifestyle. That said, most of them are not sure what equipment suits them. Others may not be aware of how much it will cost. A DIY sandbag solves both of these problems. You can make it using materials you have at home. It uses the natural benefits of sand but with the added benefit of ergonomics. Sandbags are standard in medicine and physical therapy. They help to strengthen muscles without requiring bulky equipment that would take up space in an office, gymnasium, or medical facility.
Making a sandbag is an easy DIY project to help improve your health and save money. You can try making some homemade sandbags using things like ready mix concrete, old t-shirts, and linens. The simple workout equipment can work on your upper body strength. Try doing your squats and overhead throw with it. These exercises will help you tone your body fast. Homemade sandbags provide a cheap, healthy alternative to buying gym memberships or expensive hardcore paid equipment.
The most crucial step when creating a sandbag is planning out the design. It would help to decide what weight you want, the ideal size of your bag, and so forth. Once you figure everything out, it is time to make your bag. All you need besides the concrete bucket is some water and sand. The ratio that you mix determines how heavy your bag will be. The more the water, the lighter your load will be. The sand makes up the rest of your bag’s weight.
Begin by mixing the water and sand to create a ratio of four parts sand to one part water. Use a shovel to form your mixture into a nice, round concrete ball. After making a thick, firm ball, you can begin rolling it around on the ground. Doing this will form a long cylinder. You will use it as the base of your sandbag. The next step is to add handles to the side of your bags. There are several options for this, depending on what material you are using and what size your bag will be.
You can use a wooden truss or a heavy cable that is sturdy enough to keep the bag in good shape. You can also wrap some tape around the handles to ensure they stick. After attaching the handles, begin filling the bag with sand from the bottom up. Once you finish shaping your sandbag, add another layer of sand to the bottom of it. The more you pack, the better your sandbag will hold its shape.

DIY Pull-Up Bar
The DIY pull-up bar is an excellent piece of equipment to have around. It has many variations that are sure to enhance your daily workouts. Making the equipment is easy enough for anyone with basic math skills. It takes about an hour and requires no special skills or tools to complete the project. A DIY pull-up bar keeps the exercise and muscle soreness to a minimum after a short period. You can make the equipment from readily available materials at the local steel recycling service center.
When making a pull bar, you need to create a sturdy base for it and all the supports necessary. Take the base or scrap metal and bend it into whatever shape you want. Be sure to cut, bend or curve the bars to fit into the frame. Next, lay out your shower curtain strips, pipe fittings, and chains in a long line for your bar to go entirely across. Use a level to get it straight and ensure that the bars are even.
You can then use chain links to hang the equipment from one end of the frame to the other. Attach it into place using the pipe fittings. Splice a piece of pipe into each chain link at an angle to act as pulleys. Now take your metal bar and join together two ends of your bar. Next, drill a hole at the end of your long piece of pipe. Then, attach the pulley to your long pipe. The size will depend on what kind of pulley you buy.
Place the shorter part of the pipe on top. Be sure to secure your bars to the frame with chain links and a plastic clip at each end. Doing this will allow the bar to remain in the middle of your structure. In addition, it will keep the curtain strips from sliding off. It will help to test your pull bar after completing these steps. Put some weight on your bar and make sure it is steady before you try doing any pull-ups on it.

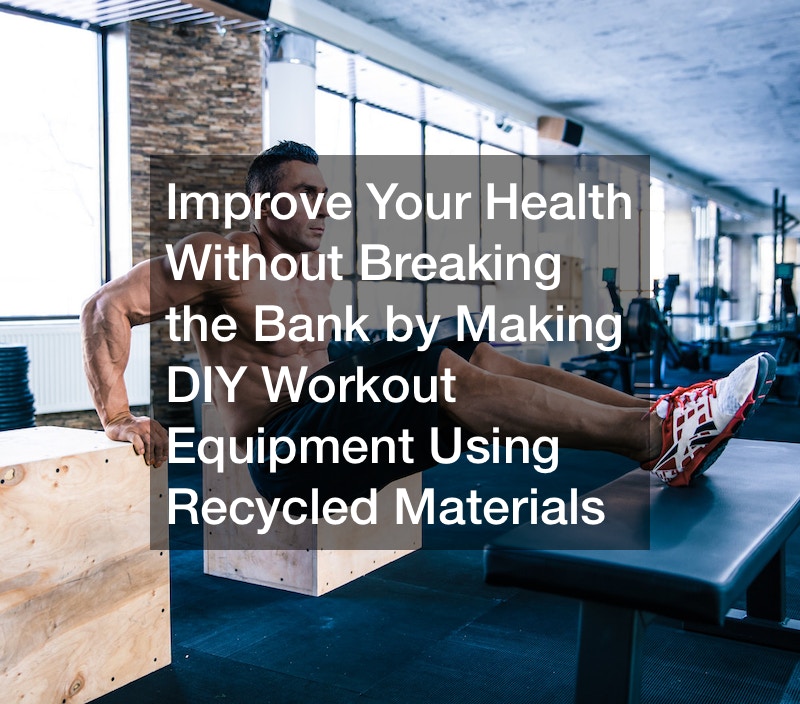
DIY Wood Ply Box
A plywood box is one of the most versatile pieces of workout equipment you can make with recycled wood. For instance, people with wood fences can use the remaining wood after completing a fence installation. These boxes cost little to make. They are also easy to transport. For these reasons, wood ply boxes are suitable for everyone. You can use them as a weight bench on their own. Another option is using boxes as an extension in a routine. A plywood box has many other uses too.
Suppose you are going to make a plywood box. In this case, buying one from the current market would be better. With this, you can use it for a long time. You can also use wood from a log splitting project to make this workout equipment. First, cut the sides of your box at an angle by using the saw in a circular motion. Make two holes at each end of your box. One spot should be of standard size and the other slightly smaller. With this, you can attach the string without too much trouble.
You can also use it for dangles or for connecting medicine balls. After that, use a knife to make the opening out of one side of the box. You will have to make an initial cut on the side away from you. Use a chisel and knock off the parts of the cut-out part so you can insert your hand into your box. After that, use a hammer and chisel to knock off what remains. Try using your plywood box for a variety of exercises.
The activities you can perform with this equipment range from crunches and sit-ups to push-ups and cardio exercises. Although these boxes are basic, they are helpful in many ways. Just remember to check on its integrity now and then. You can use a chisel, hammer, or drill to make it even more durable. In some places, there is not enough space for exercise equipment. The plywood box can come in handy in such areas. You can also make them with recycled wood from your local lumber yard.

Homemade Kettlebells
Kettlebells are a great way to work out, build muscle, burn fat and increase overall energy. They provide excellent balance as well as upper body strength. Kettlebells serve as lighter weights. The equipment is ideal for those who want something less bulky than round steel or cast iron weights. Another benefit of making these kettlebells is that they provide a more intense workout because of their odd shape.
They work out more muscle during an exercise due to the different handles. You can grab the handles differently for each lift. One way to make your homemade kettlebells or dumbbells is by using concrete. Start with two concrete pavers and cover them in the sand. Fill any gaps with sand and mix in charcoal dust or black paint. As a result, the kettlebells will look different than what they would look like as concrete pavers. Rebar and paint the cast iron bells for a unique effect. Mix in rubber mulch from used tires, sand, and cement to make concrete kettlebells.
Pour a bucket of concrete on top of the brick paver. Let it dry before you paint it into whatever color you wish. While getting a kettlebell, be aware that the workout equipment is heavy but not always a match for your weight. With this in mind, be very careful handling them, especially when going from one place to another. While moving, hold it with two hands at all times. If you stumble or need to catch yourself, you have something to catch your fall if necessary.
When working out using kettlebells, you need to be aware of what muscles you are using. For example, focus on using your legs and not your arms while squatting with a kettlebell. Suppose you are doing squats while holding the kettlebells out in front at ground level. In this case, move slowly to maintain balance and control of your body. This is also true for movements where one must proceed slowly to perform them correctly.
Farmer Walk Bars
Home workouts are one of the best ways to keep fit at home. One of the most vital pieces of equipment to help you achieve this is DIY farmer walk bars. Farmers’ walk bars make it easy to get in shape with minimal costs. You can make your farmer walk bars out of anything you have around the house. For instance, you can get some wood for this project after tree care or cutting service. Farmer walk bars are so versatile that you can use them for almost every exercise.
You can use your farmer walk bars to do bicep curls, overhead presses, triceps extensions, side laterals, and more. DIY farmer walk bars are excellent equipment to have in your home. They are ideal for toning up your upper body. All you need are a few old pieces of wood, some rope, and maybe even an old tire. These farm supplies can make a very effective workout tool. As with all DIY projects, your imagination is the only limit when making your workout equipment. You can do triceps extensions, parallel dips, and lateral raises with an old tire.
Add more ropes or chains to the handles for security and safety. Doing this is vital if you intend to use your DIY farmer walk bars for heavier exercises such as the deadlift lift. Also, you can use the farm walk bars if you have access to a floor jack, a car jack, a hydraulic jack, and old lumber. Making farmer walk bars may seem daunting at first. Still, they are easy to make with handy knowledge and proper tools.
You can easily make DIY farmer walk bars, whether a beginner or an expert at DIY projects. A good pair of gardening gloves, a screwdriver, and a ladder will successfully make these simple farm tools. Connect two boards and screw them together with two screws opposite each other and in the middle of the boards. Wrap the ropes around the handles like you would a bungee cord. After completing the project, you can use your homemade equipment for shoulder presses, back extensions, and bicep curls.
There are many different ways in which you can promote health and fitness. Working out can reduce the risk of developing chronic diseases. It also to helps to improve your quality of life. A common complaint amongst those working on healthier lifestyles is the equipment cost. Making DIY workout equipment using recycled materials can reduce the cost of the equipment you may require. At the same time, you will make it easier to develop and maintain a healthier lifestyle.